


Before replacing a Tesla emblem, thoroughly wash and inspect the vehicle for damage. Select an appropriate surface cleaner for paint, plastic, or metal. Prepare the surface with meticulous cleaning, debris removal, and specialized solvents for optimal trim adhesion. Address collision damage beforehand to ensure a secure, durable new emblem installation.
Considering a Tesla emblem replacement? Before you begin, proper preparation is key. This guide walks you through the essential steps for a successful upgrade, focusing on cleaning your vehicle’s adhesion surface. We explore the importance of using the right cleaner to ensure a strong bond and long-lasting results. Learn how to achieve a seamless fit with our expert tips on Tesla emblem replacement, enhancing your car’s aesthetic appeal.
- Preparing Your Tesla for Emblem Replacement
- Choosing the Right Adhesion Surface Cleaner
- Ensuring Long-Lasting Trim Adhesion
Preparing Your Tesla for Emblem Replacement

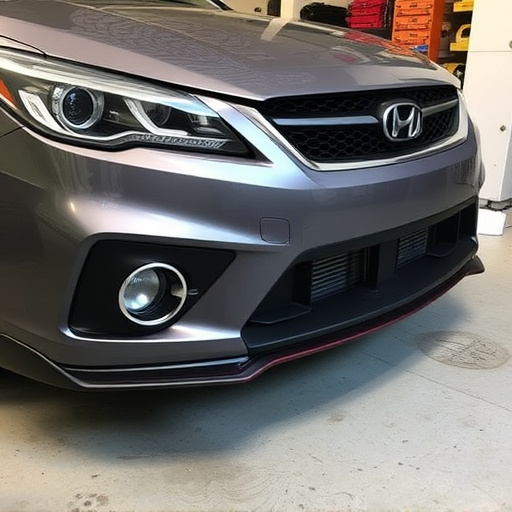
Before diving into Tesla emblem replacement, preparing your vehicle is a crucial step. Start by washing your Tesla thoroughly to ensure no dirt or debris remains on the surface where the new emblem will be attached. This meticulous process not only enhances the appearance of your car but also guarantees a clean canvas for the installation.
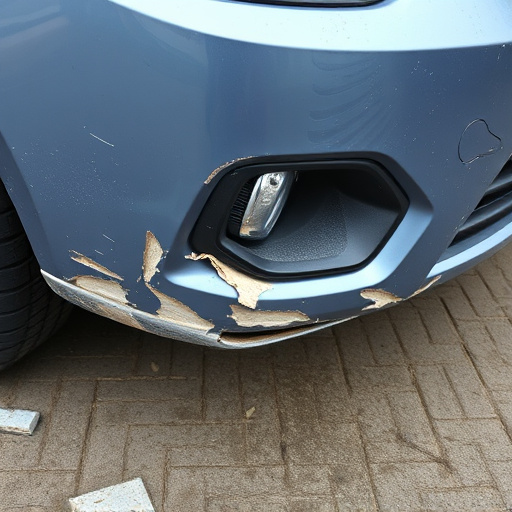
Additionally, inspect the existing adhesion surfaces carefully. If there’s any damage, such as peeling paint or loose trim, address these issues with auto body repair techniques before proceeding. Remember, proper preparation is key to achieving a seamless and long-lasting Tesla emblem replacement, ensuring your vehicle looks as good as new.
Choosing the Right Adhesion Surface Cleaner

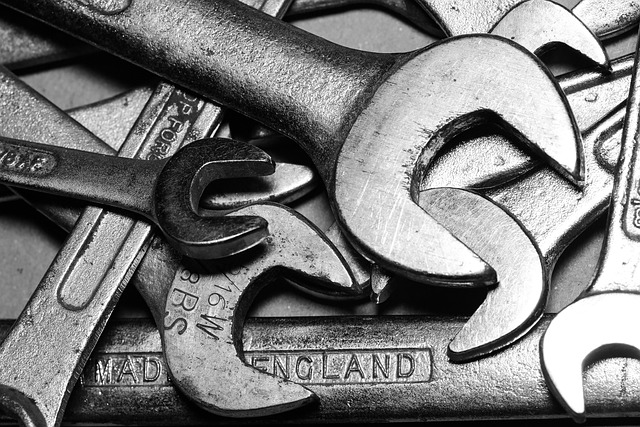
When undertaking a Tesla emblem replacement or any trim adhesion work, selecting the appropriate surface cleaner is a key step in ensuring optimal results. The right cleaner can prepare the existing surface, removing contaminants and ensuring a strong bond for your new emblem or trim piece. Look for products specifically designed for automotive applications, focusing on those that are gentle yet effective at breaking down grease, grime, and adhesive residue.
Consider factors like surface type (paint, plastic, metal) and the severity of contamination when choosing. For instance, car body restoration specialists often recommend cleaners suitable for painted surfaces to prevent damaging the finish during the cleaning process. Similarly, for complex jobs involving frame straightening and subsequent trim replacement, a versatile cleaner that can handle various materials and conditions will streamline the work, ensuring a clean slate for your Tesla emblem replacement project.
Ensuring Long-Lasting Trim Adhesion

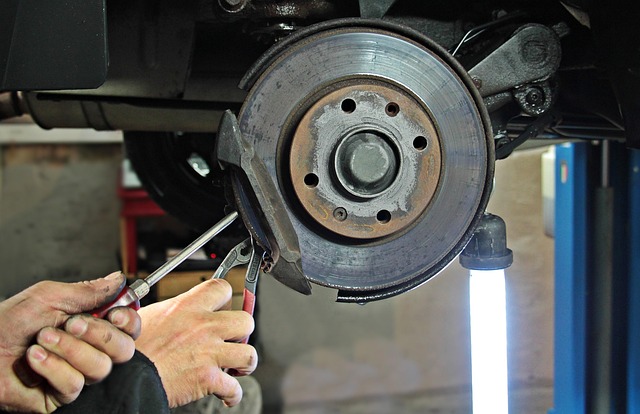
When undertaking a Tesla emblem replacement or any trim adhesion work, proper surface preparation is key to ensuring long-lasting results. Beyond simply cleaning the area, it’s crucial to remove any debris, grease, wax, and existing adhesive residue that could undermine the new bond. This meticulous process involves using specialized solvents and abrasives to create a clean, roughened surface that promotes strong adhesion.
A thorough understanding of collision damage repair principles is essential for achieving optimal trim adhesion. By addressing potential issues in vehicle bodywork like dents, scratches, or paint imperfections before applying new adhesive, you lay the groundwork for a more secure and durable connection. Professional vehicle repair services often employ advanced techniques, such as sandblasting or chemical treatments, to ensure that every square inch of the surface is ready to accept the new Tesla emblem with maximum strength and longevity.
When undertaking a Tesla emblem replacement, proper surface cleaning is key to achieving long-lasting adhesion. By following the steps outlined in this article—from preparing your car to choosing the right cleaner and ensuring robust adhesion—you’ll not only enhance the look of your vehicle but also guarantee that the new emblem stays securely in place for years to come. Happy replacing!