


Tesla emblem replacement is a DIY project demanding skill and precision. It requires understanding vehicle mechanics and aesthetics, careful removal of old emblems, and secure installation of new ones (genuine or aftermarket) for a seamless fit. Correct alignment and strong fastening are crucial to avoid body damage during repair. Choosing the right replica based on model specifics, material, finish, and dimensions ensures durability and factory-fresh appearance. Proper tools, methods (including adhesive removal and application), and a well-lit workspace facilitate successful replacement by both enthusiasts and professionals.
Looking to replace your Tesla emblem? This comprehensive guide is tailored for both DIY enthusiasts and professional installers. Learn how to expertly remove and install a new Tesla emblem across various models, ensuring a perfect fit every time. From selecting the right replacement emblems to mastering the necessary tools and techniques, we’ve got you covered. Elevate your Tesla’s style with a simple yet impactful upgrade – your satisfaction is guaranteed!
- Understanding Tesla Emblem Removal and Installation
- Choosing the Right Replacement Emblems for Your Model
- Tools and Tips for Seamless DIY or Professional Replacement
Understanding Tesla Emblem Removal and Installation

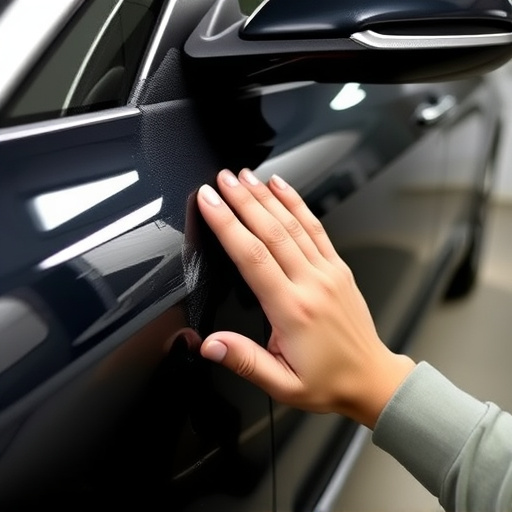
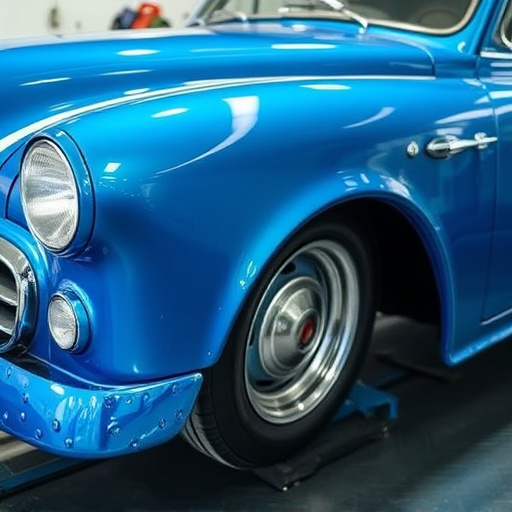
Replacing a Tesla emblem involves a careful balance between precision and skill. It’s a task that requires understanding both the aesthetic and mechanical aspects of the vehicle. For DIY enthusiasts, Tesla emblem replacement can be an intriguing project, offering the chance to customize their car’s look. However, it’s crucial to approach this process with care, as incorrect removal or installation can lead to damage to the vehicle body repair or even scuffs on the paintwork.
The procedure begins with carefully removing the old emblem, which often involves unscrewing or uncliping it from its mounting. This is where experience in car body restoration becomes valuable. Once the old emblem is removed, the new one—whether it’s a genuine Tesla part or a high-quality aftermarket alternative—can be installed. The key to successful installation lies in ensuring proper alignment and secure fastening, which can only be achieved with the right tools and attention to detail, especially during collision repair processes.
Choosing the Right Replacement Emblems for Your Model

When selecting a Tesla emblem replacement, it’s paramount to choose one that perfectly aligns with your vehicle model. Each Tesla model, from the Model S to the Model 3, has distinct design characteristics, and the emblem is no exception. Opting for an authentic-looking replacement ensures a seamless fit and maintains the overall aesthetic appeal of your car.
Consider the material, finish, and dimensions when making your choice. High-quality emblems, often made from durable materials like vinyl or metal, can withstand various weather conditions. Moreover, ensuring the new emblem complements your car’s existing bodywork services, whether it’s a simple touch-up or repairing hail damage, is essential for a professional look. Selecting the right replacement part can be as crucial as the installation process itself, especially when aiming for that factory-fresh appearance.
Tools and Tips for Seamless DIY or Professional Replacement
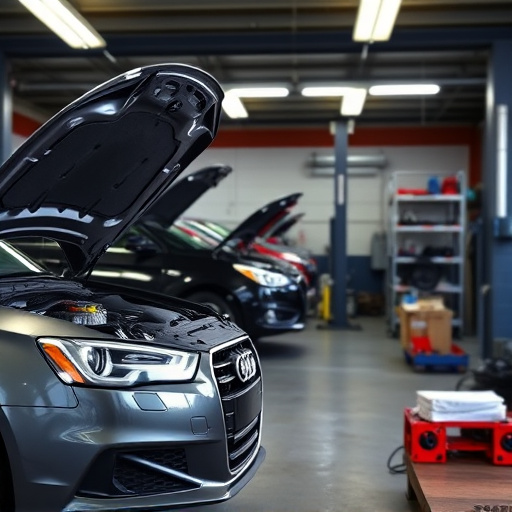
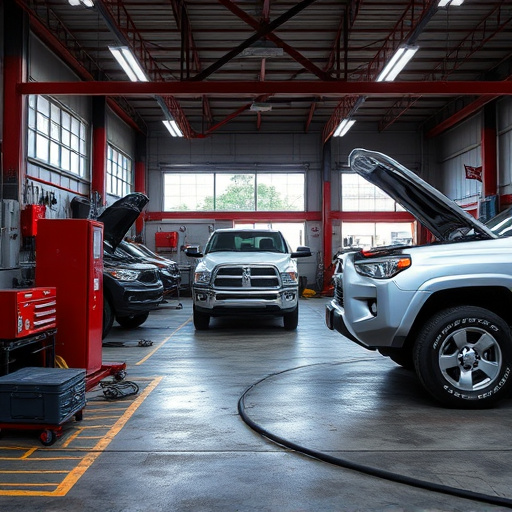
When undertaking a Tesla emblem replacement, whether for DIY purposes or as a professional, it’s crucial to have the right tools and employ effective techniques. Start by gathering essential tools like precision screwdrivers, specialized adhesive removers, and a clean cloth. For DIY enthusiasts, a simple set of high-quality tools will suffice; while professionals may opt for more advanced equipment. Before beginning, ensure your work area is well-lit and organized to prevent misplacing parts.
When replacing the emblem, follow these tips: first, carefully remove the old emblem by loosening any screws or adhesive with the appropriate tools. Next, clean the surface thoroughly to ensure a strong bond for the new emblem. For a seamless finish, use a high-quality adhesive suitable for automotive applications and follow the manufacturer’s instructions for optimal results. This process requires patience and precision, but with the right tools and techniques, you can achieve a professional Tesla emblem replacement, whether in a car repair shop or as a DIY project.
Whether you’re a DIY enthusiast or a professional installer, replacing your Tesla emblem is a straightforward process. By understanding the removal and installation techniques, selecting the right model-specific emblems, and utilizing the appropriate tools, you can achieve a seamless and satisfying upgrade. With this guide, you’re equipped with the knowledge to tackle Tesla emblem replacement, ensuring your vehicle stands out with a fresh, new look.