


Precision and skilled techniques are vital for Tesla emblem replacement to maintain vehicle aesthetics. Use heat guns to loosen old emblems carefully, avoiding paint damage. Gather specific tools like screwdrivers, compressed air, touch-up paint, and a new emblem. Park in well-ventilated areas and clean thoroughly before adhering the new emblem with reheated isopropyl alcohol.
Looking to refresh your Tesla’s look with a new emblem? This comprehensive guide walks you through the entire process, from removing the old one using a heat gun to installing a replacement. We break down the essential tools and materials required for a seamless Tesla emblem replacement, ensuring your vehicle regains its original splendor. By the end, you’ll be equipped with the knowledge to tackle this DIY project with confidence.
- Understanding Tesla Emblem Removal Process
- Tools and Materials Required for Replacement
- Step-by-Step Guide to Tesla Emblem Installation
Understanding Tesla Emblem Removal Process

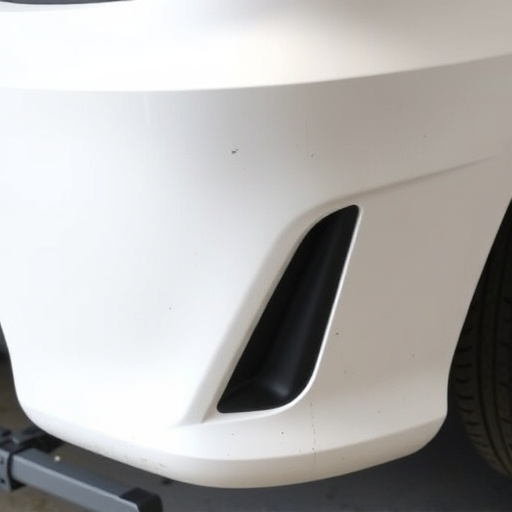
The process of Tesla emblem removal is a specialized task that requires care and precision to ensure the vehicle’s original aesthetics are preserved. When contemplating a Tesla emblem replacement, understanding the steps involved in taking off the old one is crucial. Many owners opt for this route after minor damages, such as a fender bender, where the emblem might have sustained some scuffs or cracks. A heat gun is often the primary tool used to carefully loosen and remove the emblem, allowing for easy replacement with a new one.
This method is particularly relevant in Mercedes Benz collision repair scenarios where original equipment manufacturer (OEM) parts are preferred to maintain vehicle value. Auto maintenance professionals skilled in Tesla repairs can perform this service efficiently, ensuring the heat gun is applied at the correct temperature and duration to avoid damaging the surrounding panel or paintwork. A meticulous approach to emblem removal is key to achieving a seamless Tesla emblem replacement outcome.
Tools and Materials Required for Replacement

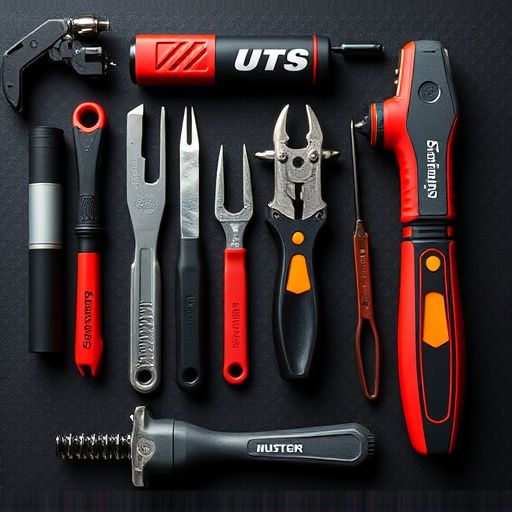
To successfully replace a Tesla emblem, several specific tools and materials are essential. For this process, you’ll need a set of precision screwdrivers, including flathead and Phillips types, as different Tesla models may require either or both. A heat gun is another crucial tool for carefully removing the old emblem without damaging the surrounding car paint. This thermal tool applies controlled heat to loosen the adhesive beneath the emblem. Additionally, prepare a supply of high-quality replacement emblems that are specifically designed for your Tesla model to ensure a precise fit and authentic look. For clean removal, an air compressor or canned compressed air can help dislodge any stubborn debris. In case of minor damage to the surrounding paint during the process, touch-up paint that matches your Tesla’s color will be needed for repairs—a key aspect of professional car dent removal techniques.
Step-by-Step Guide to Tesla Emblem Installation
Replacing a Tesla emblem involves careful precision and the right tools for a seamless finish. Here’s your step-by-step guide to Tesla emblem installation, focusing on achieving a professional look.
Begin by gathering the necessary materials: a new Tesla emblem, heat gun (or hair dryer), isopropyl alcohol, microfiber cloths, and a plastic scraper. Park your Tesla in a well-ventilated area, as the heat process can release strong fumes. Using the heat gun or hair dryer, gently warm the existing emblem for about 30 seconds to loosen it from the surface. This step is crucial for safe removal, preventing damage to the paint job during physical manipulation. Once heated, carefully peel away the old emblem with the plastic scraper. After removing the original emblem, use isopropyl alcohol and a microfiber cloth to clean the area thoroughly, eliminating any residue or dirt. Finally, position the new Tesla emblem in place and press firmly. Repeat the warming process with the heat gun before adhering to ensure a secure fit.
Tesla emblem replacement is a straightforward process that can restore your vehicle’s look. By understanding the removal process, gathering the right tools and materials, and following a simple step-by-step guide, you can easily install a new Tesla emblem. This DIY approach not only saves costs but also allows you to customize your car according to your preferences. Remember, a well-maintained Tesla can keep its sleek and modern aesthetic for years to come.