


Tesla emblem replacement requires a thorough understanding of the removal process, including assessing damage, cleaning, and using specialized tools. Right tools and materials, like heat guns, scraper blades, and adhesives removers, are crucial for success. A collision repair shop's expertise ensures a seamless, damage-free process. Begin with safety, clean workspace, and protective gear; carefully remove old emblem, prepare surface, apply adhesive, position new emblem, and press firmly. This meticulous guide minimizes future autobody repair needs.
Looking to replace your Tesla emblem? This comprehensive guide breaks down the safe removal process and offers a step-by-step installation tutorial. We’ll walk you through the essential tools and materials required, ensuring a successful and hassle-free Tesla emblem replacement. Discover expert techniques for peeling without damaging your vehicle’s finish and restore your car’s look today.
- Understanding Tesla Emblem Removal Process
- Tools and Materials for Safe Peeling
- Step-by-Step Guide to Efficient Replacement
Understanding Tesla Emblem Removal Process
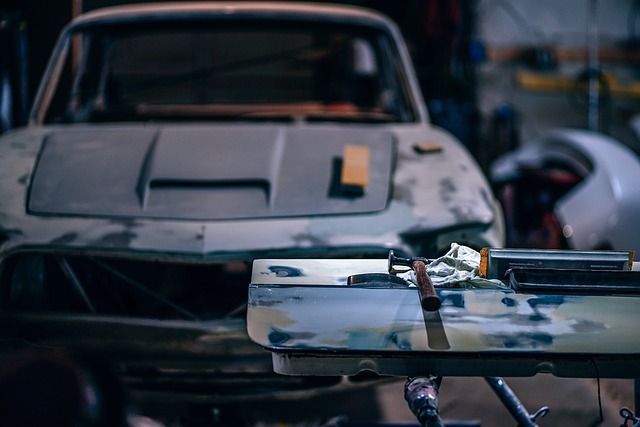
When considering a Tesla emblem replacement, understanding the removal process is crucial. The first step involves assessing the condition of the existing emblem and surrounding surface to ensure it’s suitable for replacement. This often requires careful inspection to identify any signs of damage or adherence to the vehicle’s paintwork, as proper preparation is vital for a successful Tesla emblem replacement.
The actual removal process typically starts with cleaning the area to eliminate any dirt or debris. After that, specialized tools are used to carefully pry off the old emblem. For vehicles with complex designs or intricate details, this can be a delicate process, requiring expertise in automotive repair services. Once the emblem is removed, the surface may need further preparation, such as filling in any gaps or repairing minor scratches, before applying a fresh Tesla emblem, ensuring a seamless and secure fit, akin to the original car dent repair.
Tools and Materials for Safe Peeling

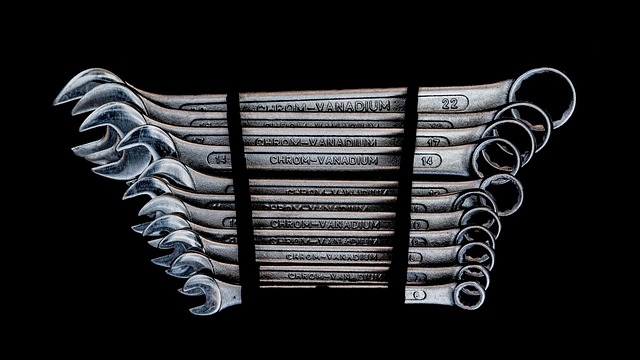
When undertaking a Tesla emblem replacement or any car restoration task involving peeling, it’s crucial to have the right tools and materials. The primary goal is to achieve a clean, safe removal without damaging the underlying surface. A variety of specialized tools are available for this purpose, such as heat guns with precise temperature controls, which can soften the adhesive without causing excessive heat damage. Additionally, scraper blades designed for car restoration should be chosen for their precision and ability to navigate tight corners.
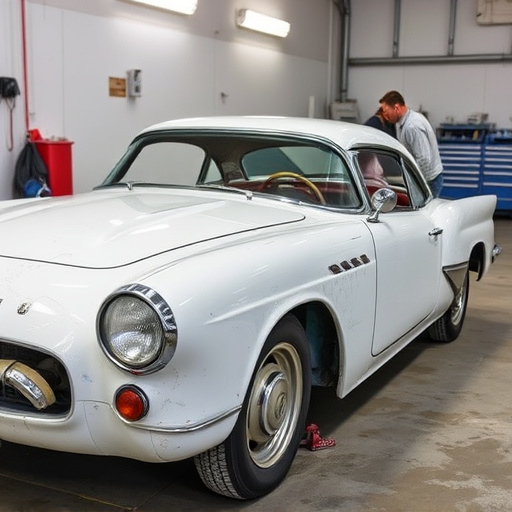
For a successful and safe peeling process, high-quality adhesives removers and solvents are essential components of your kit. These materials help to break down the bond between the emblem and the vehicle’s surface, making it easier to remove without leaving behind any residue or causing paint damage. Remember that proper ventilation is also critical during this phase, as some chemicals can be hazardous when inhaled. Using a collision repair shop’s expertise for Tesla emblem replacement ensures access to these specialized tools and materials, ultimately facilitating a seamless car restoration process.
Step-by-Step Guide to Efficient Replacement
Performing a Tesla emblem replacement is an effective way to restore your vehicle’s original look after a fender bender or bumper repair. Here’s a step-by-step guide for efficient replacement, ensuring precise and secure installation:
1. Safety First: Ensure your workspace is well-lit and clean. Park your car on a level surface and engage the parking brake. Put on safety gear like gloves to protect against sharp edges. This is especially crucial when dealing with autobody repairs.
2. Remove Old Emblem: Carefully pry off the old Tesla emblem using a suitable tool, such as a flathead screwdriver or an embossment tool designed for automotive applications. Start at one corner and work your way around, gently lifting to avoid damaging the surrounding paint. For a seamless fit, it’s important to handle the new emblem with care during this process.
3. Prepare Surface: Clean the area where the old emblem was located. Remove any debris or contaminants using a dedicated cleaner to ensure optimal adhesion for the new replacement. This step is vital to prevent issues during bumper repair or autobody repairs.
4. Apply Adhesive: Follow the manufacturer’s instructions to apply the appropriate adhesive to both the new Tesla emblem and the car’s surface. Allow the adhesive to set according to its recommended time frame. Proper application ensures a strong bond, enhancing the longevity of your replacement emblem.
5. Install New Emblem: Carefully position the new Tesla emblem onto the prepared surface, aligning it precisely with the old location. Press firmly to create a secure connection, but be gentle to avoid damaging the paint or adhesive. With quick and precise movements, you can ensure an accurate fit, minimizing the risk of needing further autobody repairs.
Replacing a Tesla emblem is a straightforward process that, when done correctly, can significantly enhance your vehicle’s appearance. By understanding the removal process and utilizing the right tools and techniques, you can safely peel off the old emblem and install a new one with ease. Remember, proper care and attention to detail ensure a clean, professional finish, making your Tesla stand out on the road. For all your Tesla emblem replacement needs, these proven methods serve as an excellent guide to achieving a factory-like result.