
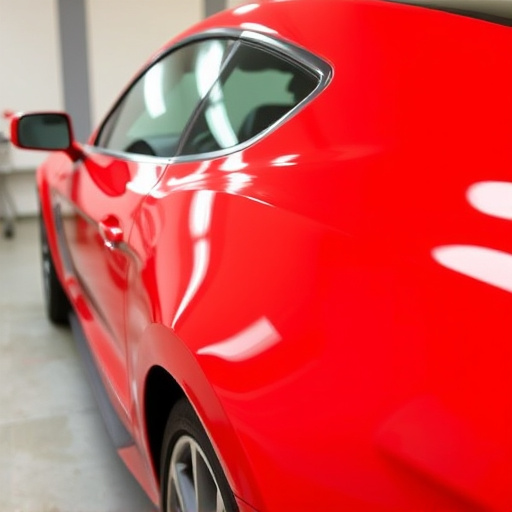


Replacing a Tesla emblem requires careful planning and precision. Assess the old emblem's condition, gather high-quality compatible emblems and necessary tools, including specialized cleaning solutions and adhesives. Remove the old emblem carefully, prepare the surface, clean, and apply adhesive as per manufacturer instructions. For complex replacements, such as involving the rear trunk panel, consult professional body shop services for best results and to preserve vehicle value.
Considering a Tesla emblem replacement or rear trunk panel repair? This comprehensive guide walks you through the process, ensuring a smooth DIY experience. Learn how to accurately identify the issue, gather the necessary tools and materials, and perform a precise, step-by-step replacement. From preparation to final touches, master the art of Tesla emblem replacement for a like-new look.
- Understanding Tesla Emblem Replacement: A Step-by-Step Guide
- Tools and Materials Required for the Job
- Process of Replacing the Tesla Emblem and Rear Trunk Panel
Understanding Tesla Emblem Replacement: A Step-by-Step Guide

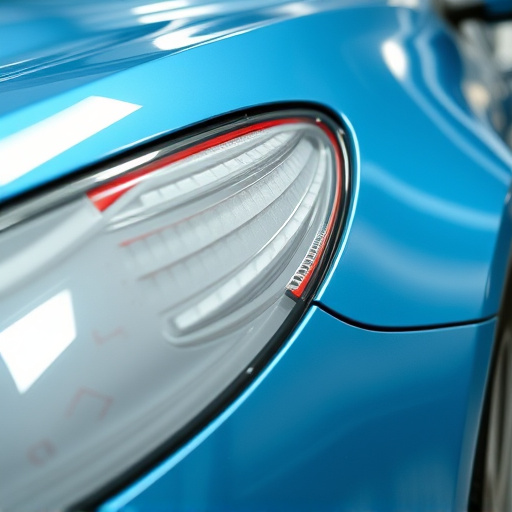
Replacing the Tesla emblem is a task many vehicle owners undertake to restore their car’s original look or personalize its design. It involves careful consideration and a systematic approach, especially for those new to auto body repair. The process begins with assessing the condition of your current emblem, which may require removal for inspection and damage assessment. If replacing due to wear and tear, ensure you source a compatible, high-quality Tesla emblem that matches the vehicle’s specifications.
Next, gather the necessary tools: specialized cleaning solutions, plastic or rubber gloves, and precision screwdrivers. Prepare your workspace by laying out these tools and protective gear. The actual replacement process involves removing the old emblem with minimal force to avoid damaging surrounding panels, then preparing the surface for the new emblem. This includes cleaning and applying adhesive as per manufacturer instructions. A steady hand and attention to detail are crucial steps in this vehicle restoration process.
Tools and Materials Required for the Job
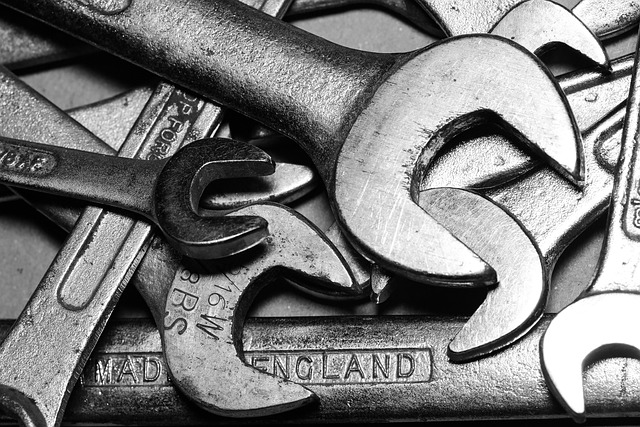
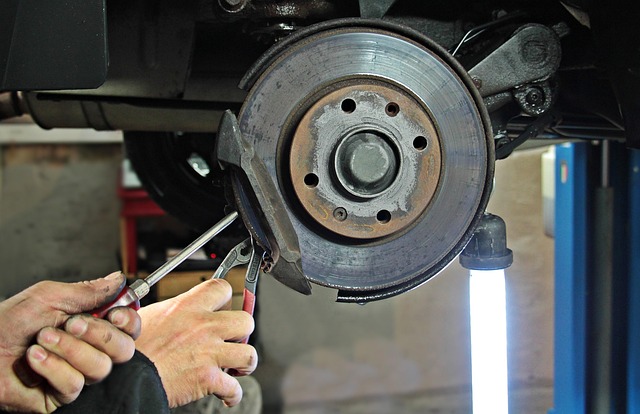
For a successful Tesla emblem replacement and rear trunk panel procedure, several specific tools and materials are essential. Begin with high-quality replacement emblems designed for your Tesla model—ensure they’re genuine or trusted aftermarket parts to maintain authenticity. Also, gather necessary car bodywork tools like a set of precision screwdrivers, a rubber mallet, and protective gear. For the vehicle repair process, you’ll need a suitable jack and jack stands to safely elevate and support your car. Additionally, consider having some gasket maker and sealing compounds on hand for any necessary repairs to the trunk panel. These materials will enable precise and secure installation, ensuring a seamless fit that preserves your Tesla’s sleek design.
Process of Replacing the Tesla Emblem and Rear Trunk Panel

The process of replacing the Tesla emblem and rear trunk panel involves several precise steps to ensure a seamless fit and finish. First, carefully remove the old emblem by gently prying it off with a suitable tool, taking note of its orientation for accurate replacement. Once the emblem is removed, access the rear trunk panel by securing the vehicle properly and opening the trunk. The panel can then be unlatched and gently pulled away from the car body, revealing the underlying structure.
For Tesla emblem replacement, it’s crucial to have a new emblem that matches the vehicle’s specifications. Position the new emblem carefully, ensuring proper alignment, before securely fastening it in place with the provided hardware. The rear trunk panel should then be reinstalled by aligning the hinges and securing it firmly, maintaining the vehicle’s structural integrity. This process is best handled by experienced body shop services to ensure quality auto frame repair and automotive collision repair, preserving the car’s overall aesthetics and value.
Replacing a Tesla emblem or rear trunk panel is a straightforward process that can significantly enhance the vehicle’s appearance. With the right tools and materials, as outlined in this guide, you can achieve a professional finish that matches your Tesla’s original design. Whether it’s due to damage, wear, or personal customization, understanding how to replace these components ensures a smooth and satisfying DIY experience for any Tesla owner. For those considering a Tesla emblem replacement, this step-by-step approach provides the knowledge needed to tackle the job with confidence.