


Tesla Emblem Replacement: A Step-by-Step Guide to Maintaining Performance and Aesthetics.
Replacing a Tesla emblem requires meticulous attention due to its advanced engineering and attachment methods. Prepare your workspace, cool the vehicle surface, remove the old emblem, clean the area, apply adhesive if needed, align and press the new emblem in place, and refer to model-specific guides. Regular care through washing, waxing, and inspections prevents degradation from weather or debris. For best results, use high-quality adhesives and consider professional services; DIY repairs for damaged emblems may not be effective.
Looking to replace your Tesla emblem? This comprehensive guide covers everything you need to know about Tesla emblem replacement safely and effectively. We’ll walk you through understanding the attachment methods and materials used on Tesla vehicles, providing a step-by-step process for a smooth replacement. Additionally, learn about common issues and essential prevention tips to ensure longevity of your new emblem. Get ready to enhance your Tesla’s look with expert advice tailored for Tesla emblem replacement.
- Understanding Tesla Emblem Attachment and Materials
- Step-by-Step Guide to Safe Emblem Replacement
- Common Issues and Prevention Tips for Longevity
Understanding Tesla Emblem Attachment and Materials
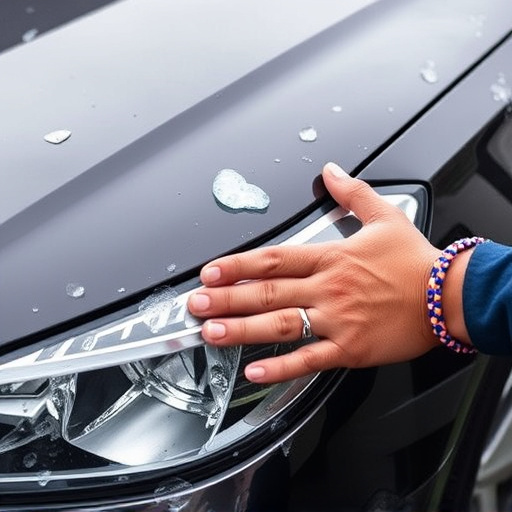
The Tesla emblem, a sleek and iconic design adorning the front grilles of Tesla vehicles, is more than just a decorative element; it’s a symbol of advanced technology and innovative engineering. Understanding how this emblem is attached and the materials used in its construction is crucial when considering a Tesla emblem replacement. These cars are known for their unique attachment methods, which often involve advanced adhesive systems and precision-engineered components.
When it comes to replacing a damaged or worn emblem, especially after an auto collision or during an auto body restoration, it’s essential to replicate these attachment techniques accurately. This ensures the new emblem aligns perfectly and remains secure, matching the vehicle’s original specifications. Moreover, Tesla’s use of high-quality materials calls for careful consideration when choosing replacements, ensuring compatibility with the vehicle’s overall construction and performance.
Step-by-Step Guide to Safe Emblem Replacement
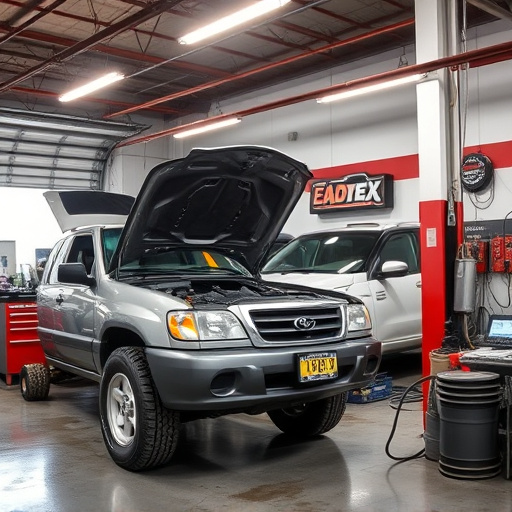
Performing a Tesla emblem replacement is an intricate process that requires precision and care to avoid causing additional car damage repair or unsightly auto bodywork imperfections. Here’s a step-by-step guide to ensure a safe and successful replacement:
1. Prepare Your Workspace: Find a clean, well-lit area with good ventilation. Gather all necessary tools, including the new emblem, removal tools (like a plastic pry bar or heat gun), and protective gear like gloves and safety glasses.
2. Cool Down the Surface: Before starting, ensure the surface of the vehicle is cool to the touch. Hot surfaces can cause warping or damage during the process. Consider using a cloth dampened with water to cool down the area.
3. Remove the Old Emblem: Carefully pry off the existing emblem using the appropriate tool, being mindful of any surrounding adhesives or finishes. In some cases, applying heat gently with a heat gun can help loosen the adhesive, but be cautious not to overheat the surface.
4. Clean and Prepare the Surface: Thoroughly clean the area where the old emblem was attached to remove any residue. Use isopropyl alcohol and a microfiber cloth for this step. Ensure the surface is dry before proceeding to attach the new emblem.
5. Apply Adhesive (if necessary): Depending on the new emblem’s design, you might need to use a suitable adhesive. Apply a thin layer evenly across the back of the new emblem, following the manufacturer’s instructions for curing time.
6. Attach and Press: Position the new emblem carefully onto the prepared surface, ensuring proper alignment. Press firmly but gently to secure it in place. Allow the adhesive to cure as per the manufacturer’s guidelines before driving or washing the vehicle.
Remember, auto body restoration is an art, and each Tesla model may have unique considerations. Always refer to detailed guides specific to your vehicle for best results.
Common Issues and Prevention Tips for Longevity
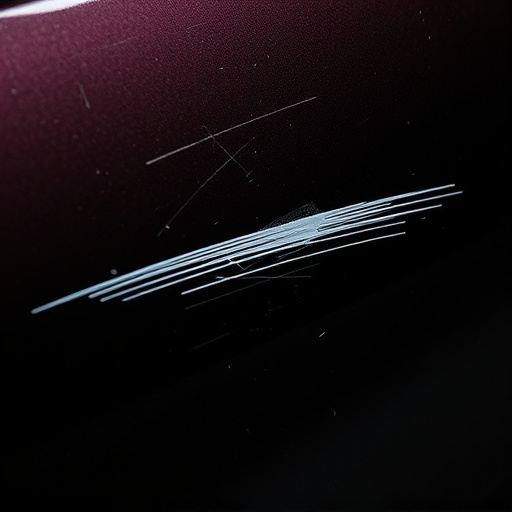
Over time, Tesla emblems can show signs of wear and tear, becoming faded or peeling. This is often due to exposure to harsh weather conditions, road debris, and regular washing. Common issues include flaking paint, loose adhesion, or even complete detachment from the vehicle’s surface. To ensure longevity, preventive measures are key. Regular washing and waxing can protect the emblem from UV rays and environmental pollutants, keeping it vibrant and securely attached. Additionally, inspecting the emblem for any damage after a collision or severe weather event is crucial, as prompt repair through a specialized bumper repair or collision repair shop can prevent further deterioration.
Proper Tesla emblem replacement techniques are essential to maintain the vehicle’s aesthetic appeal and protect its resale value. Using high-quality adhesives and following manufacturer guidelines ensures a secure bond. It’s important to remember that attempting DIY repairs on emblems, especially if damaged beyond simple peeling, might not yield satisfactory results. Professional car damage repair services have the expertise and tools to handle these delicate tasks, ensuring both long-term functionality and visual integrity of the emblem.
The process of replacing a Tesla emblem involves careful consideration of the vehicle’s unique attachment methods and materials. By following the step-by-step guide outlined in this article, car owners can safely and effectively replace their Tesla emblem, ensuring longevity and maintaining the vehicle’s aesthetic appeal. Remember, proper techniques and an understanding of potential issues are key to successful Tesla emblem replacement.